Preparing your WAV trigger
Preparing your WAV Trigger
BSOS uses a Robersonics WAV trigger to play sound effects. The WAV trigger needs to be upgraded and prepared to optimally work with BSOS.
The general order is:
- Make sure you have a nice table cloth on your table
- Purchase a WAV trigger from Amazon or SparkFun
- Solder headers onto the 6 pin section of the WAV trigger to enable serial control
- Bridge the 5V input power pad on the WAV trigger
- Upgrade the WAV trigger to version 1.3 or higher
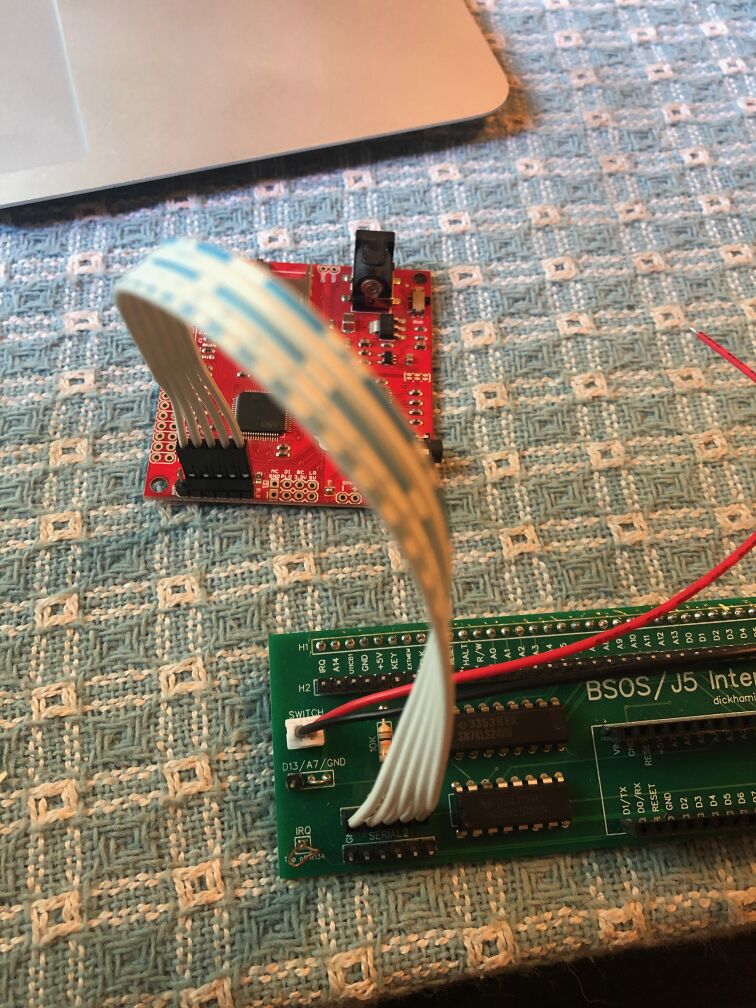
- Connect the WAV trigger to the interface board - making sure to pay attention to the pin order
- Download and load the sounds for your machine onto the micro SD Card and insert it into the WAV trigger
- Hook up a set of powered speakers to the WAV trigger
Solder Headers onto the WAV trigger and bridge the 5V pad
The Arduino communicates with the WAV trigger via serial (UART) and powers the WAV trigger with 5V. You will need to solder 6 pins and bridge a solder pad on the WAV trigger.
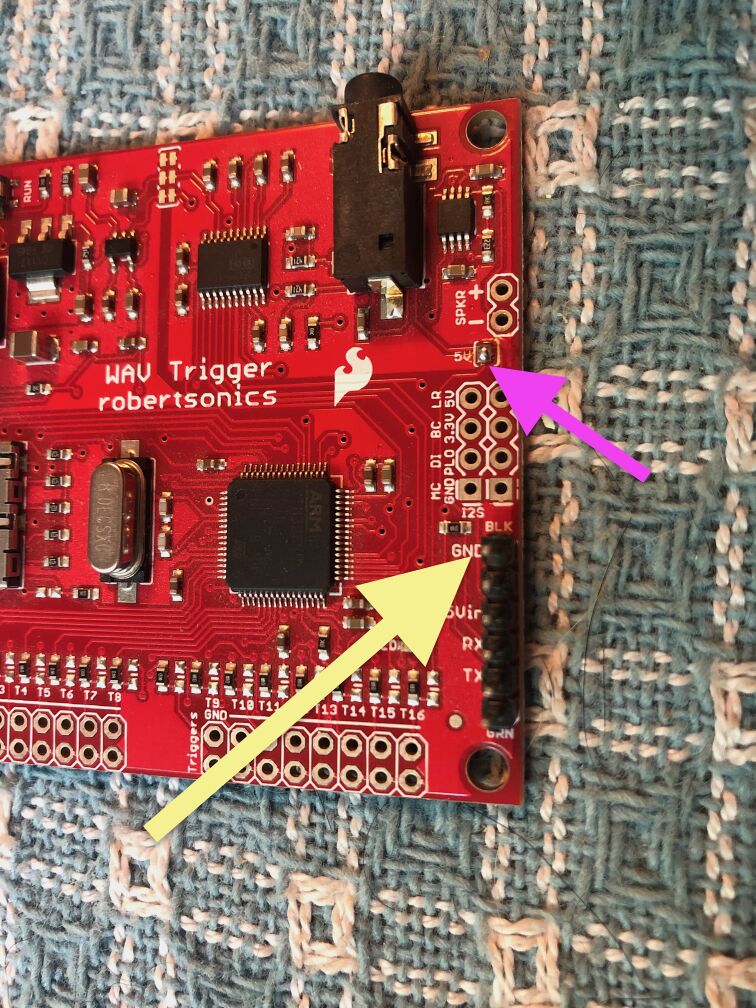
The WAV Trigger sound card comes with an empty header (6-pin) on the bottom right of the board (yellow arrow). Solder male pins (0.1”) into this header. Pin 1 (GND) is at the top of the connector. To power the WAV Trigger through this header, you’ll need to put a solder bridge over the 5V pads (purple arrow pointing to SJ2). Otherwise, provide power through the barrel connector on the left side of the board.
Upgrading WAV trigger software
The WAV trigger ships with version 1.28. This version will work, but it may have issues when a lot of sound effects are played in a short period of time, specifically the background song may stop. To fix this the WAV trigger needs to be upgraded to a version > 1.30
- download v1.30 firmware and update utility
- set the slide switch on the wav trigger to the load position
- connect your desktop computer to the wav trigger using a usb to serial cable like this one from Adafruit and the adapter to the 6-pin header you installed above
- connect an external power supply to the wav trigger
- run the wav trigger flash utility.
Using an Arduino as a USB to Serial bridge
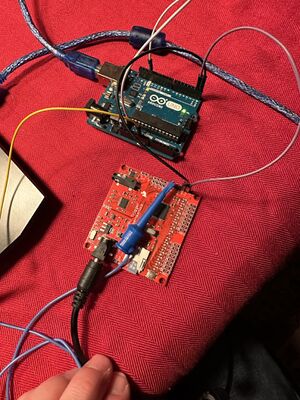
In a pinch you can use an Arduino as a USB to UART bridge to flash the WAV trigger. To do this:
- Jumper the rst pin on the Arduino to the ground pin
- Connect the RX pin to the RX pin on the WAV trigger
- Connect the TX pin to the TX pin on the WAV trigger
- Connect the GND pin to the WAV trigger GND pin
Connect the WAV trigger to the interface board
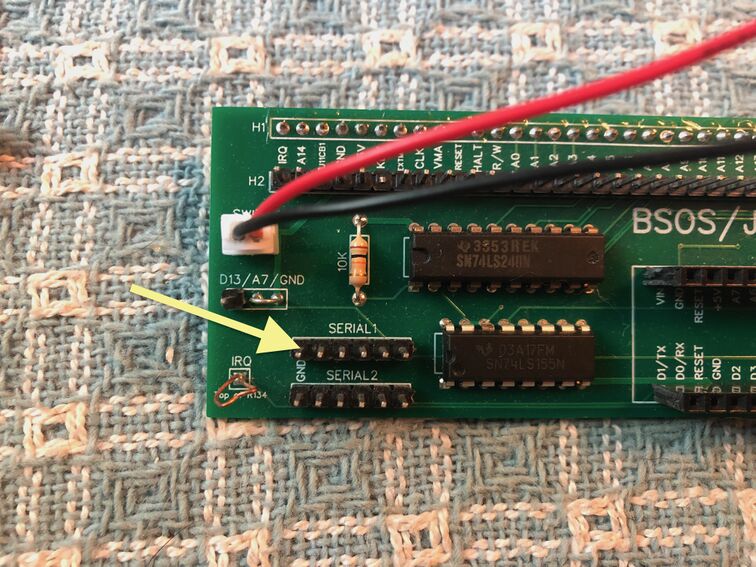
If you’re using a BSOS PCB, the ground pin is the first pin on the left of either Serial 1 or Serial 2. The Gerber files for the PCB are in the main repository https://github.com/BallySternOS/BallySternOS , and there are kits available online. In this photo, the yellow arrow points to pin 1 (ground).
Load the sounds for your game onto a micro SD Card
Download the WAV files for the code you are using and load them onto the micro SD Card. The SD Card should be a class 4 or better card - see the documentation on the supported cards
Plug a powered speaker into the headphone jack
You will need to find a powered speaker to play the sounds from the WAV trigger. The speaker can be installed in the base of the machine or mounted up higher. You can plug the speakers into the 120V maintenance plug inside the base.


